
OK, so if you know me, you know I’m a Stevie Ray Vaughan fan. I have been since my buddy Kevin Fore introduced me to his music when we served together on the USS Dewey in the 80’s. I painted SRV a couple of years ago, but when I saw a photo of just his hands and guitar, I was moved to do another. This time, I tried to take enough process pictures to show what can (and usually does) go into the work I do.
Sketch and first ‘spattered’ wash
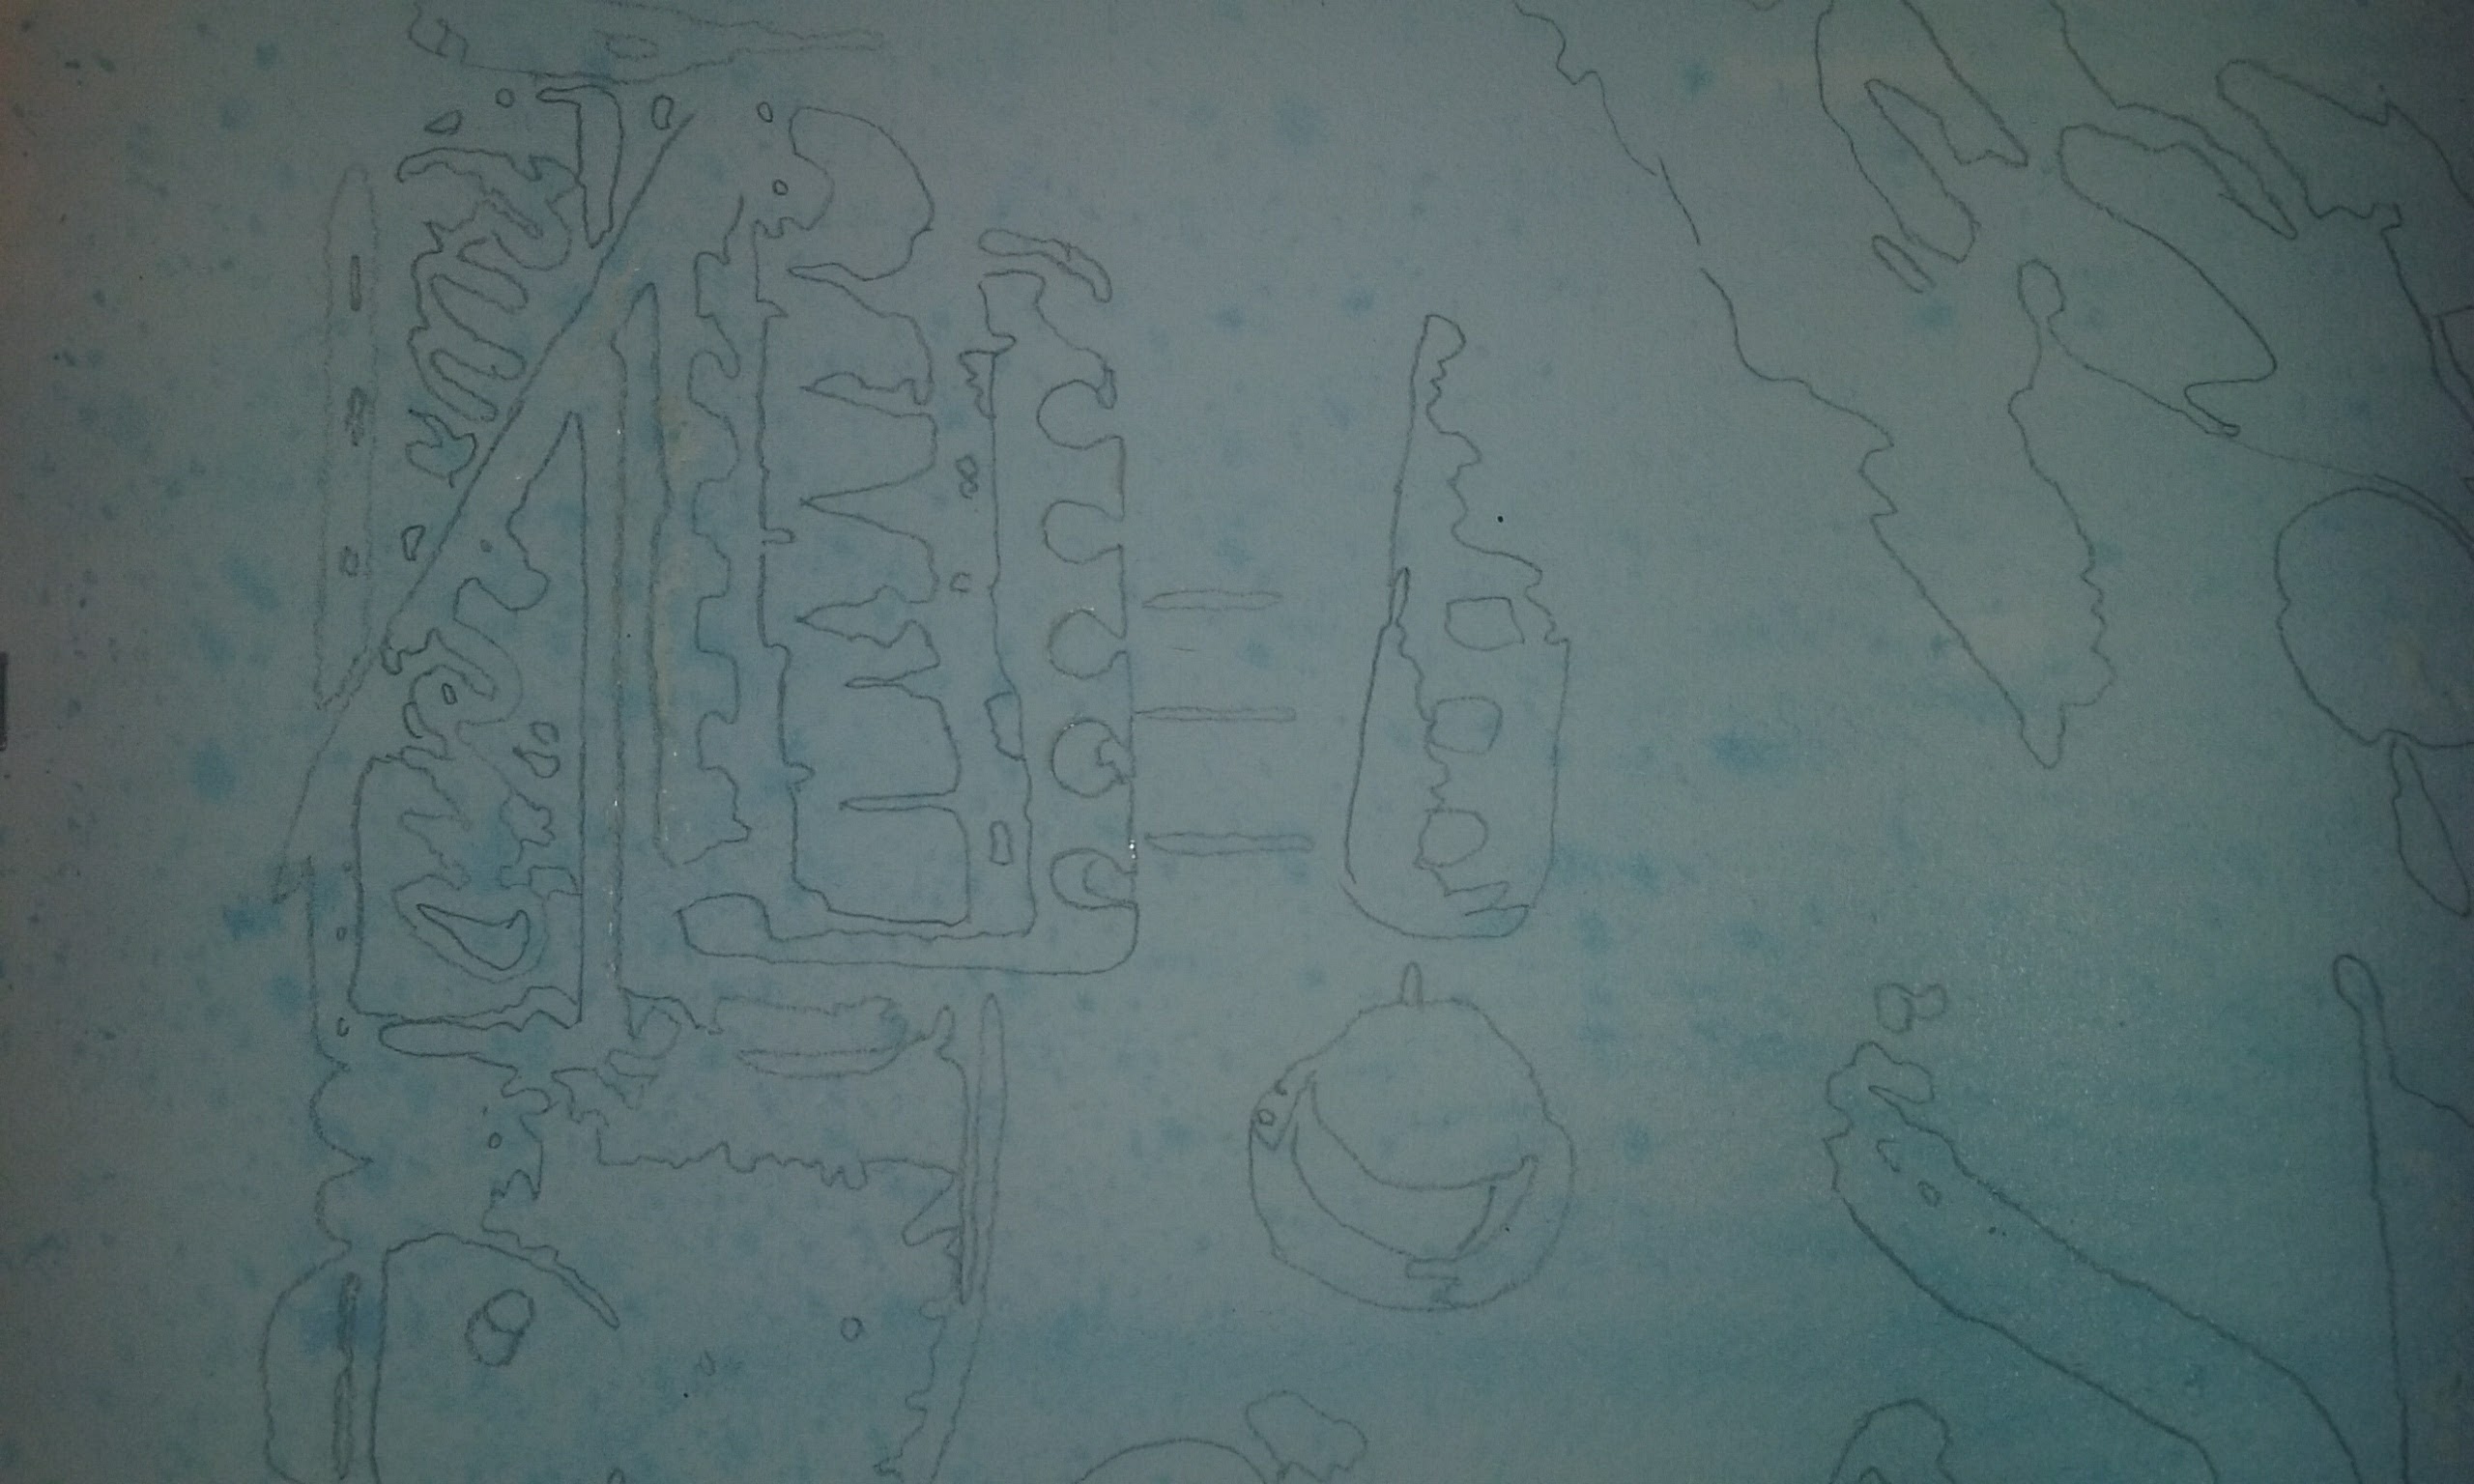
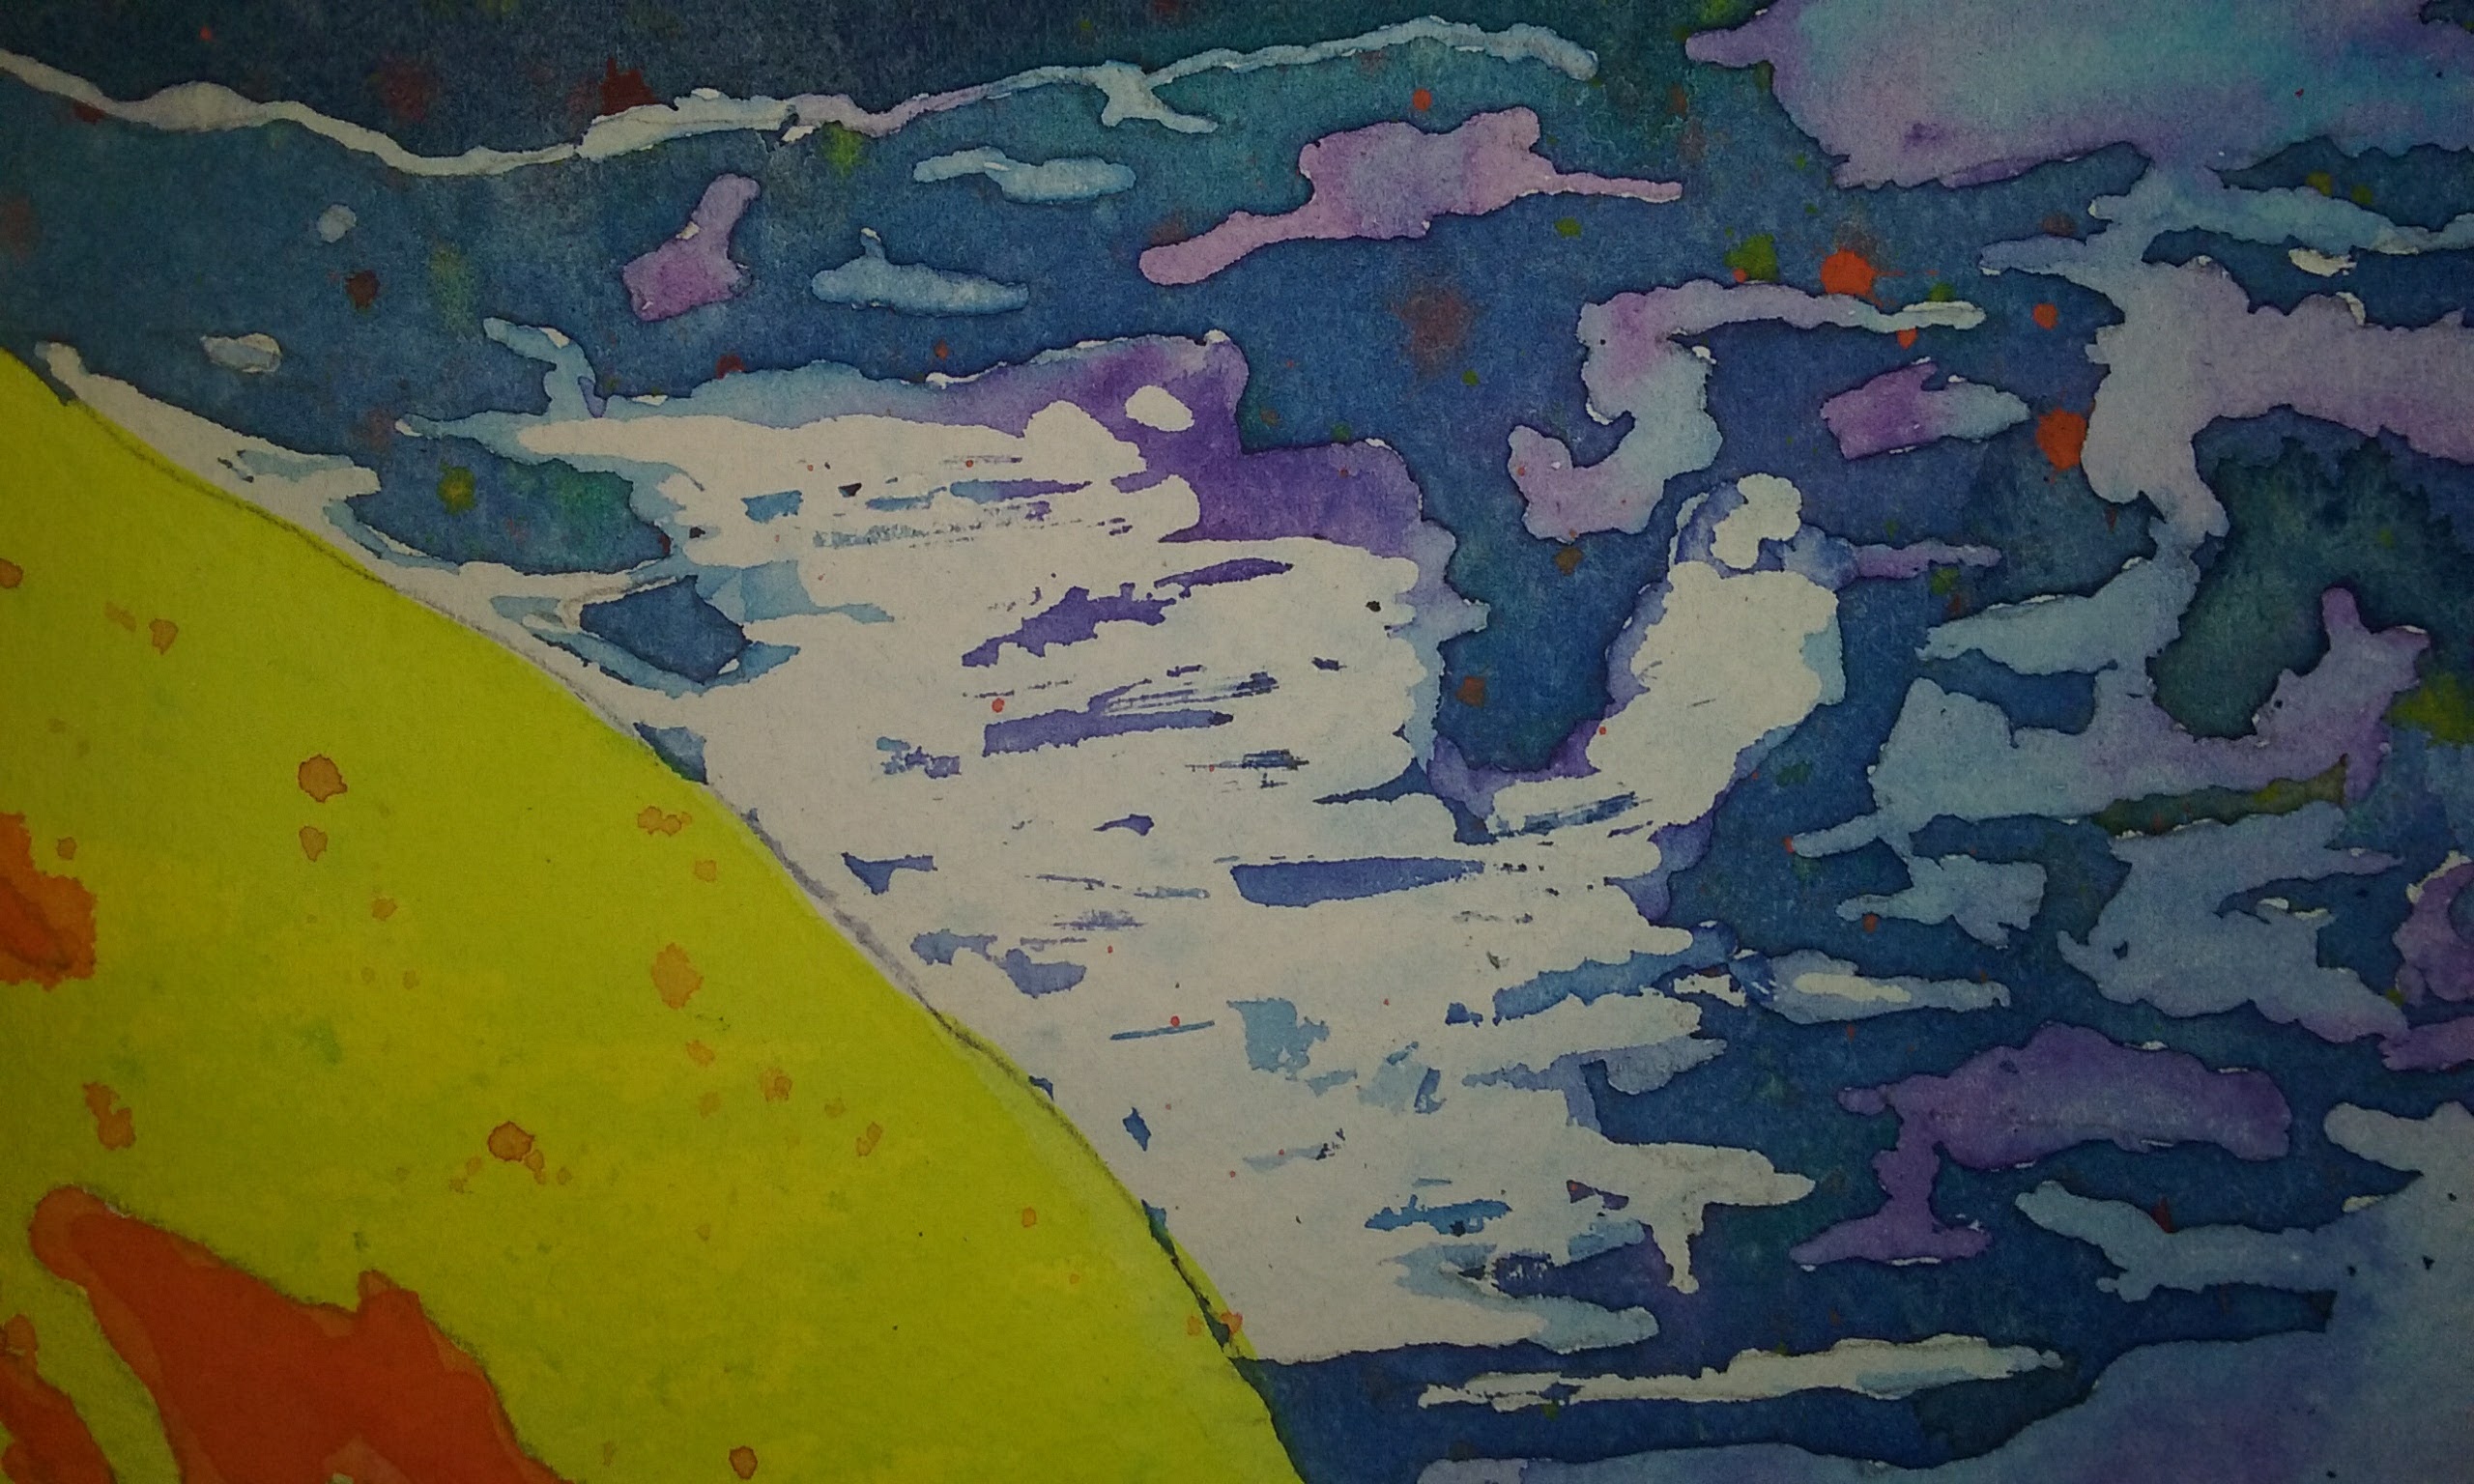
The first step was to get the basic shapes onto the 22×30″ paper. I used masking fluid to protect the areas that I want to preserve as pure white highlights. There aren’t many of these, After the fluid is completely dry, I wet the paper and apply the first color wash by spattering cerulean blue over the next lightest areas. I don’t want this to be a flat, even, or a gradient wash. I want it to be random, almost chaotic.
You can see how the paper buckled when I wet it. In this image, the only color on the paper is cerulean blue, so it is easier to see here than in the final product.
The next step is another group of masked areas, like the highlights on the knobs and the iconic SRV on the pickguard.
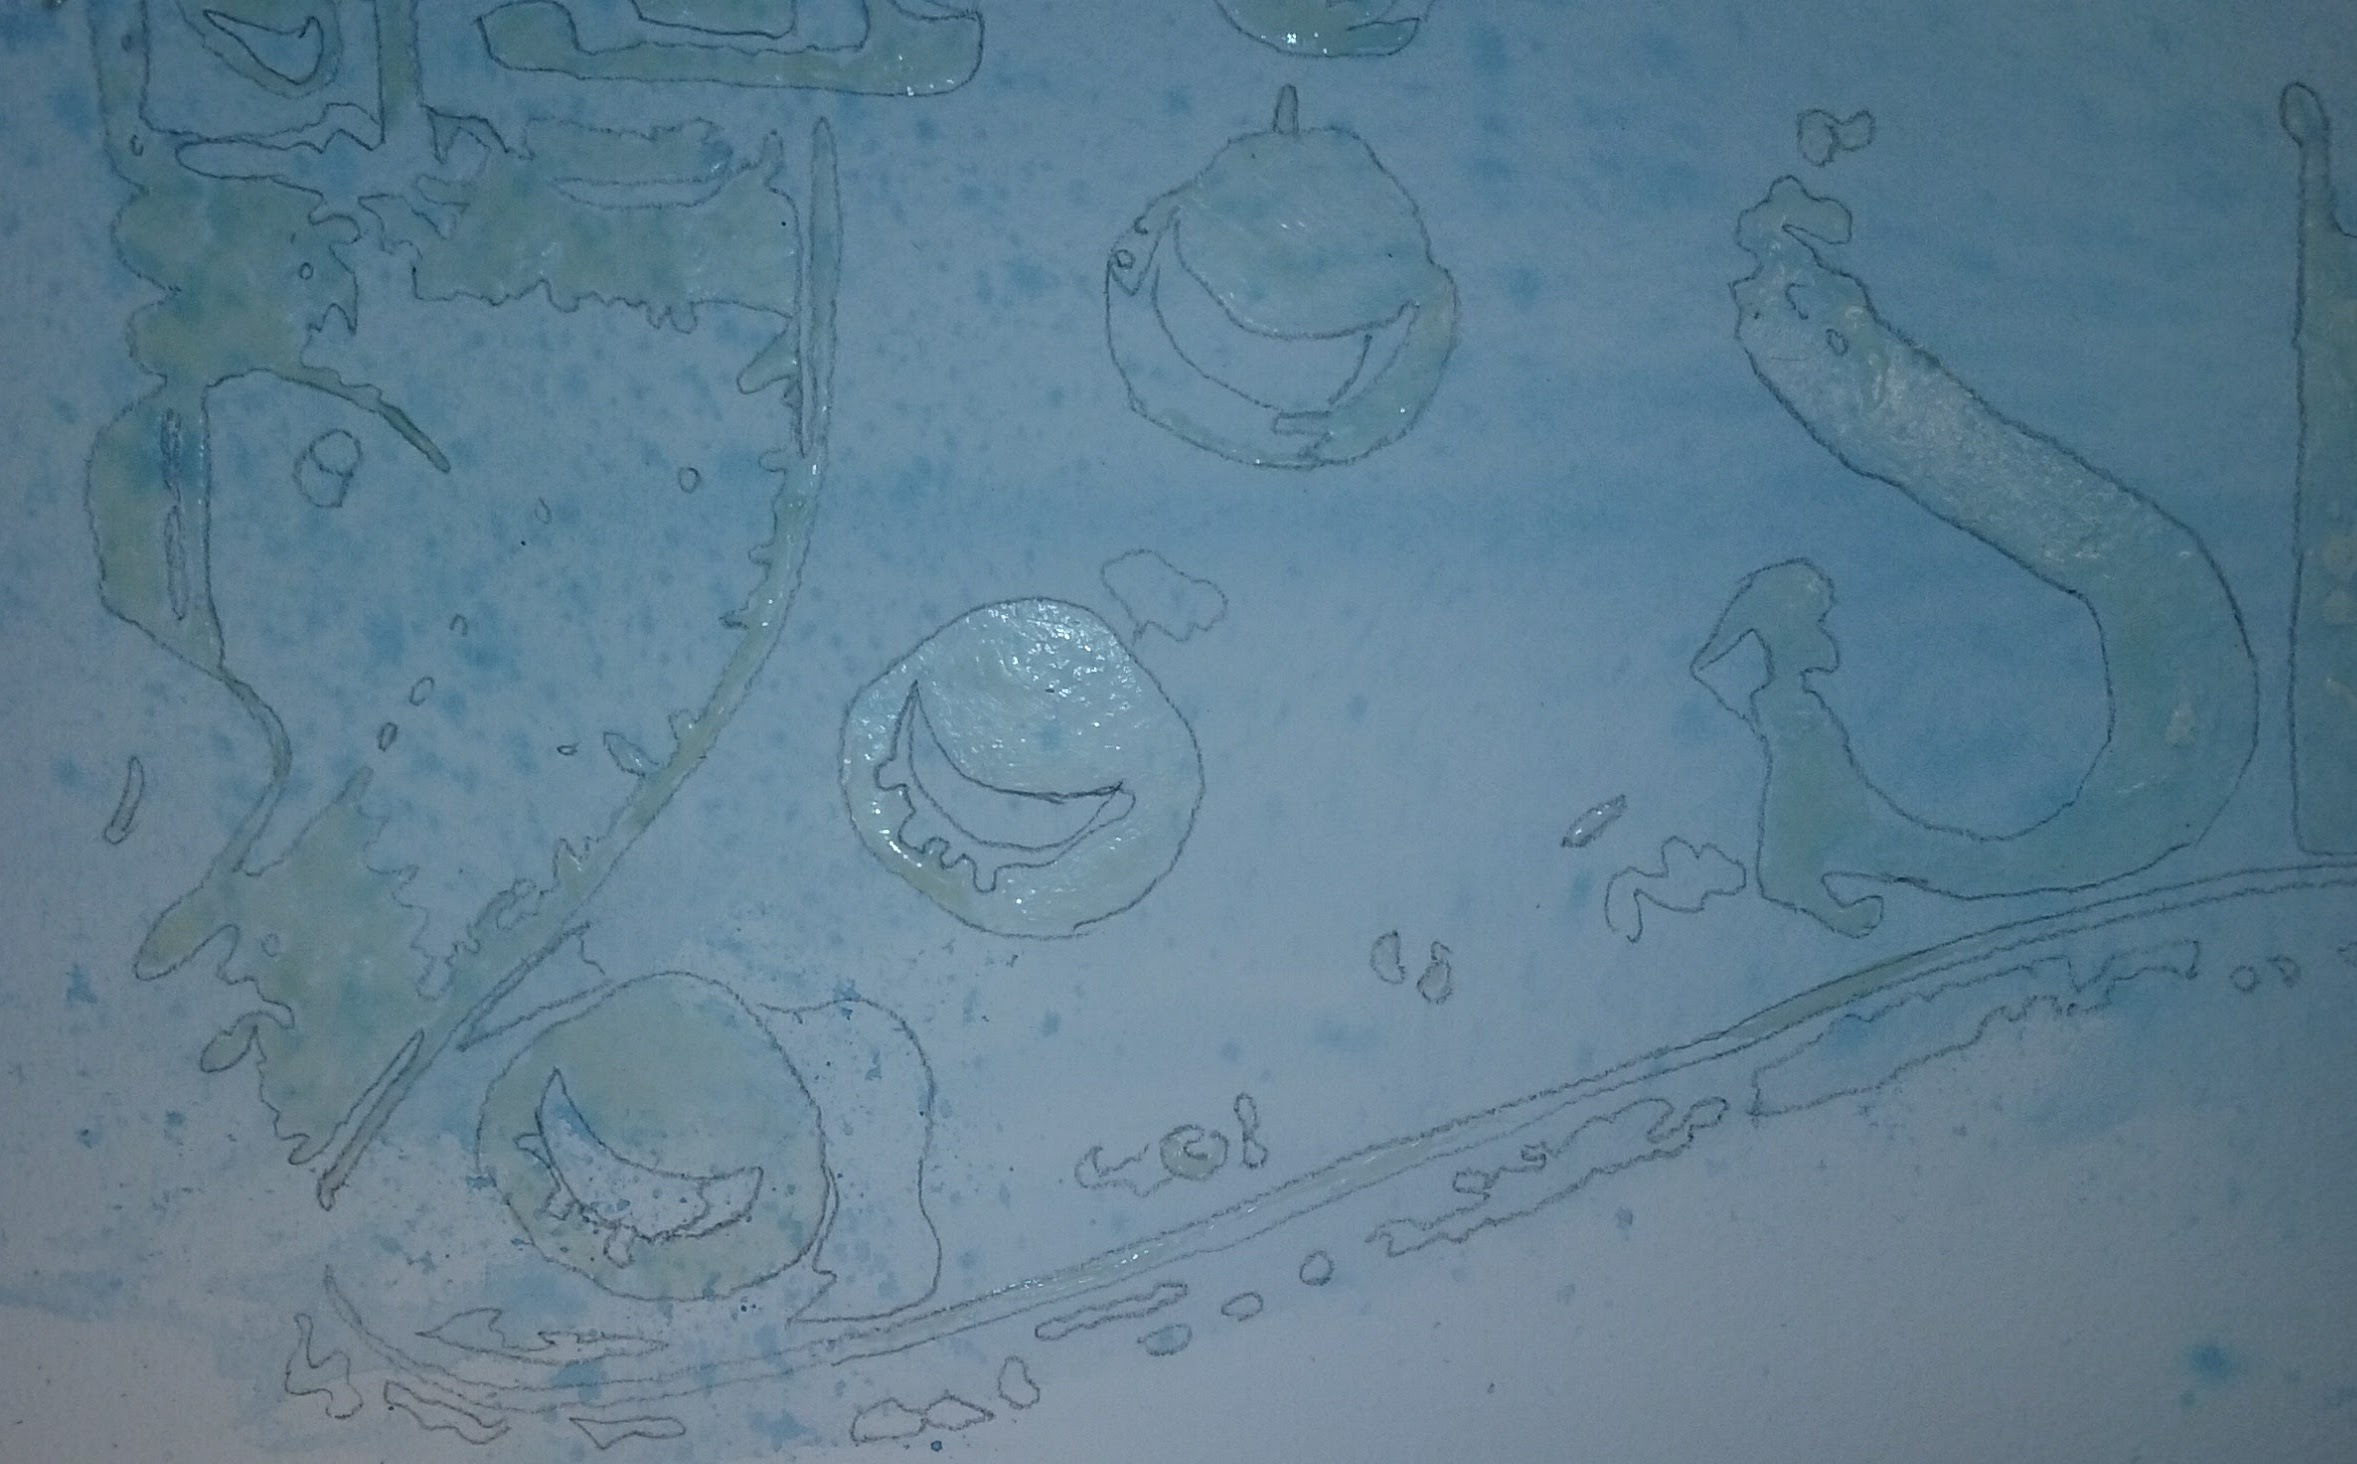
Stevie Ray Vaughan highlights on knobs masked.
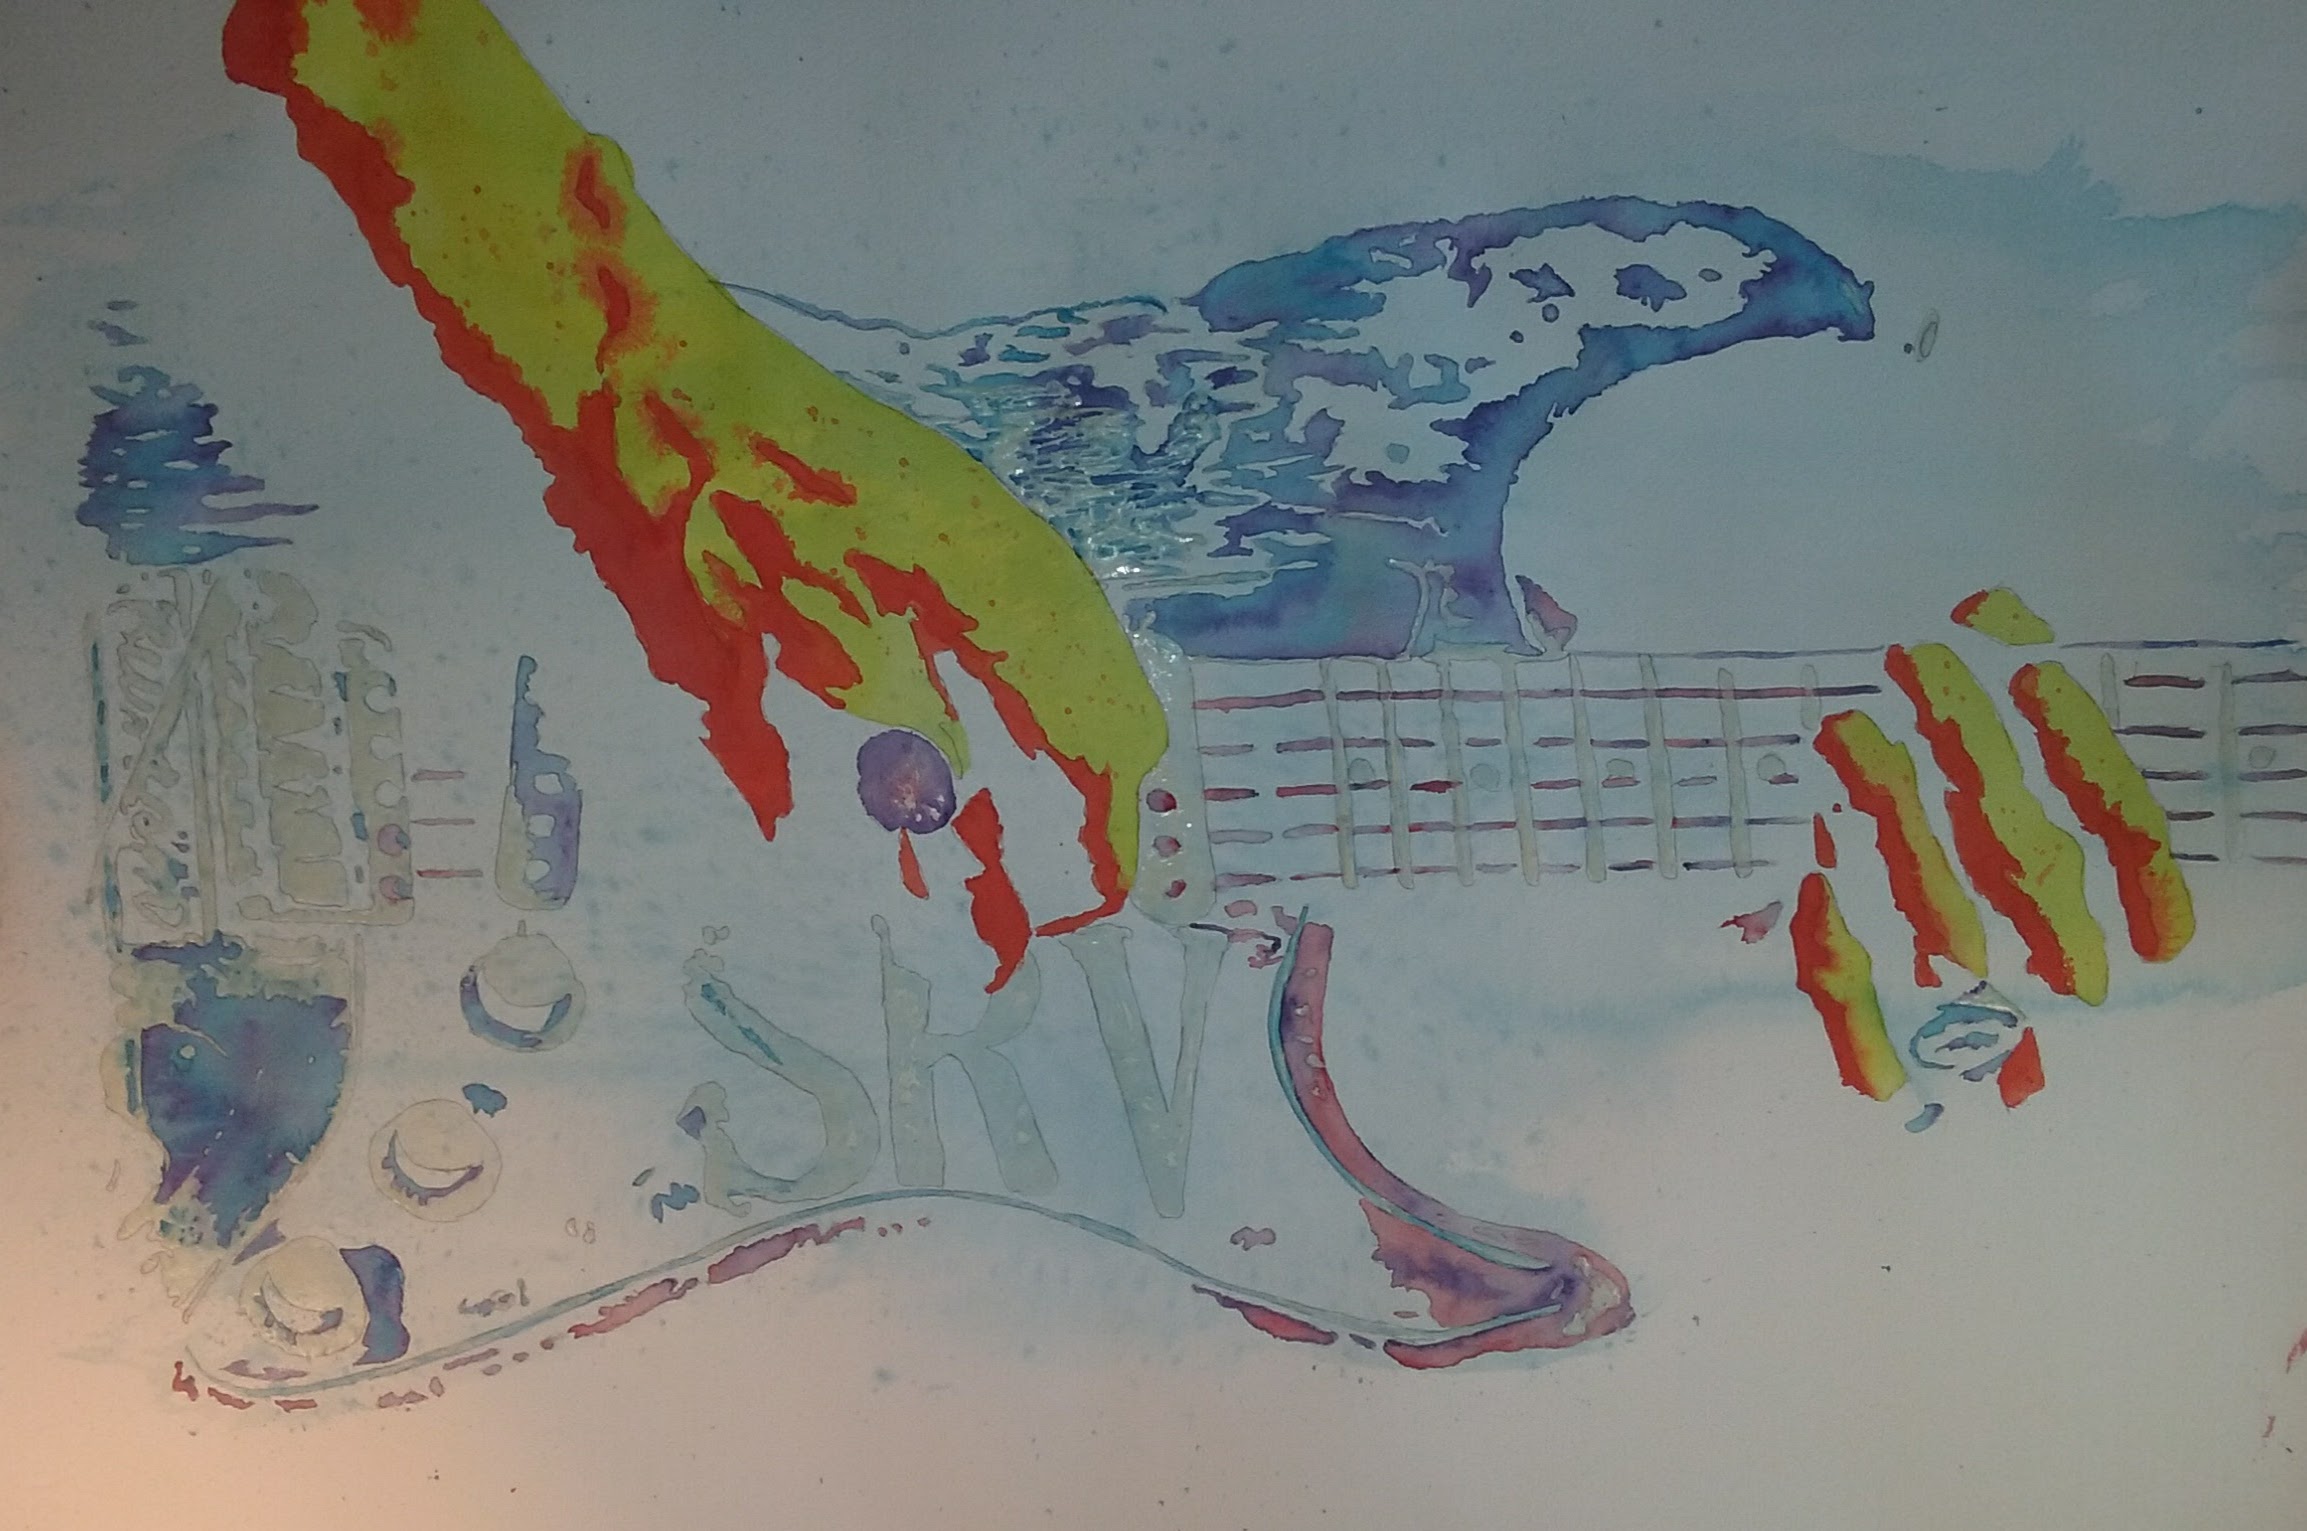
The hands were painted bright yellow and orange.
Stevie’s hands got painted next. Yes, I realize how cliche’ it is to paint them bright yellow and orange. Cut me a little slack here, OK? Have you heard him play? Stevie played wonderfully, and soulfully, but sometimes it was like fire…a wonderful , soulful blaze.
The lighter shadows were painted with a medium tone mix of reds, blues, and purple. These can be seen on the guitar body and some strings.
After these colors dry, I knew I was in real trouble. Why? Look at these small shapes! I had to mask ALL of them in order to paint the last wash! Masking these areas took a long time. Several hours, as it turned out.
I used wax paper to mask the large area of Stevie’s right wrist and forearm. This saves masking fluid, but I had to apply several coats along the edges to make sure they were completely sealed. The last wash involves lots of paint and water, as well as tipping the work in every direction to encourage blending. If there is an open point along the edge of the wax paper, the wet paint will find it.
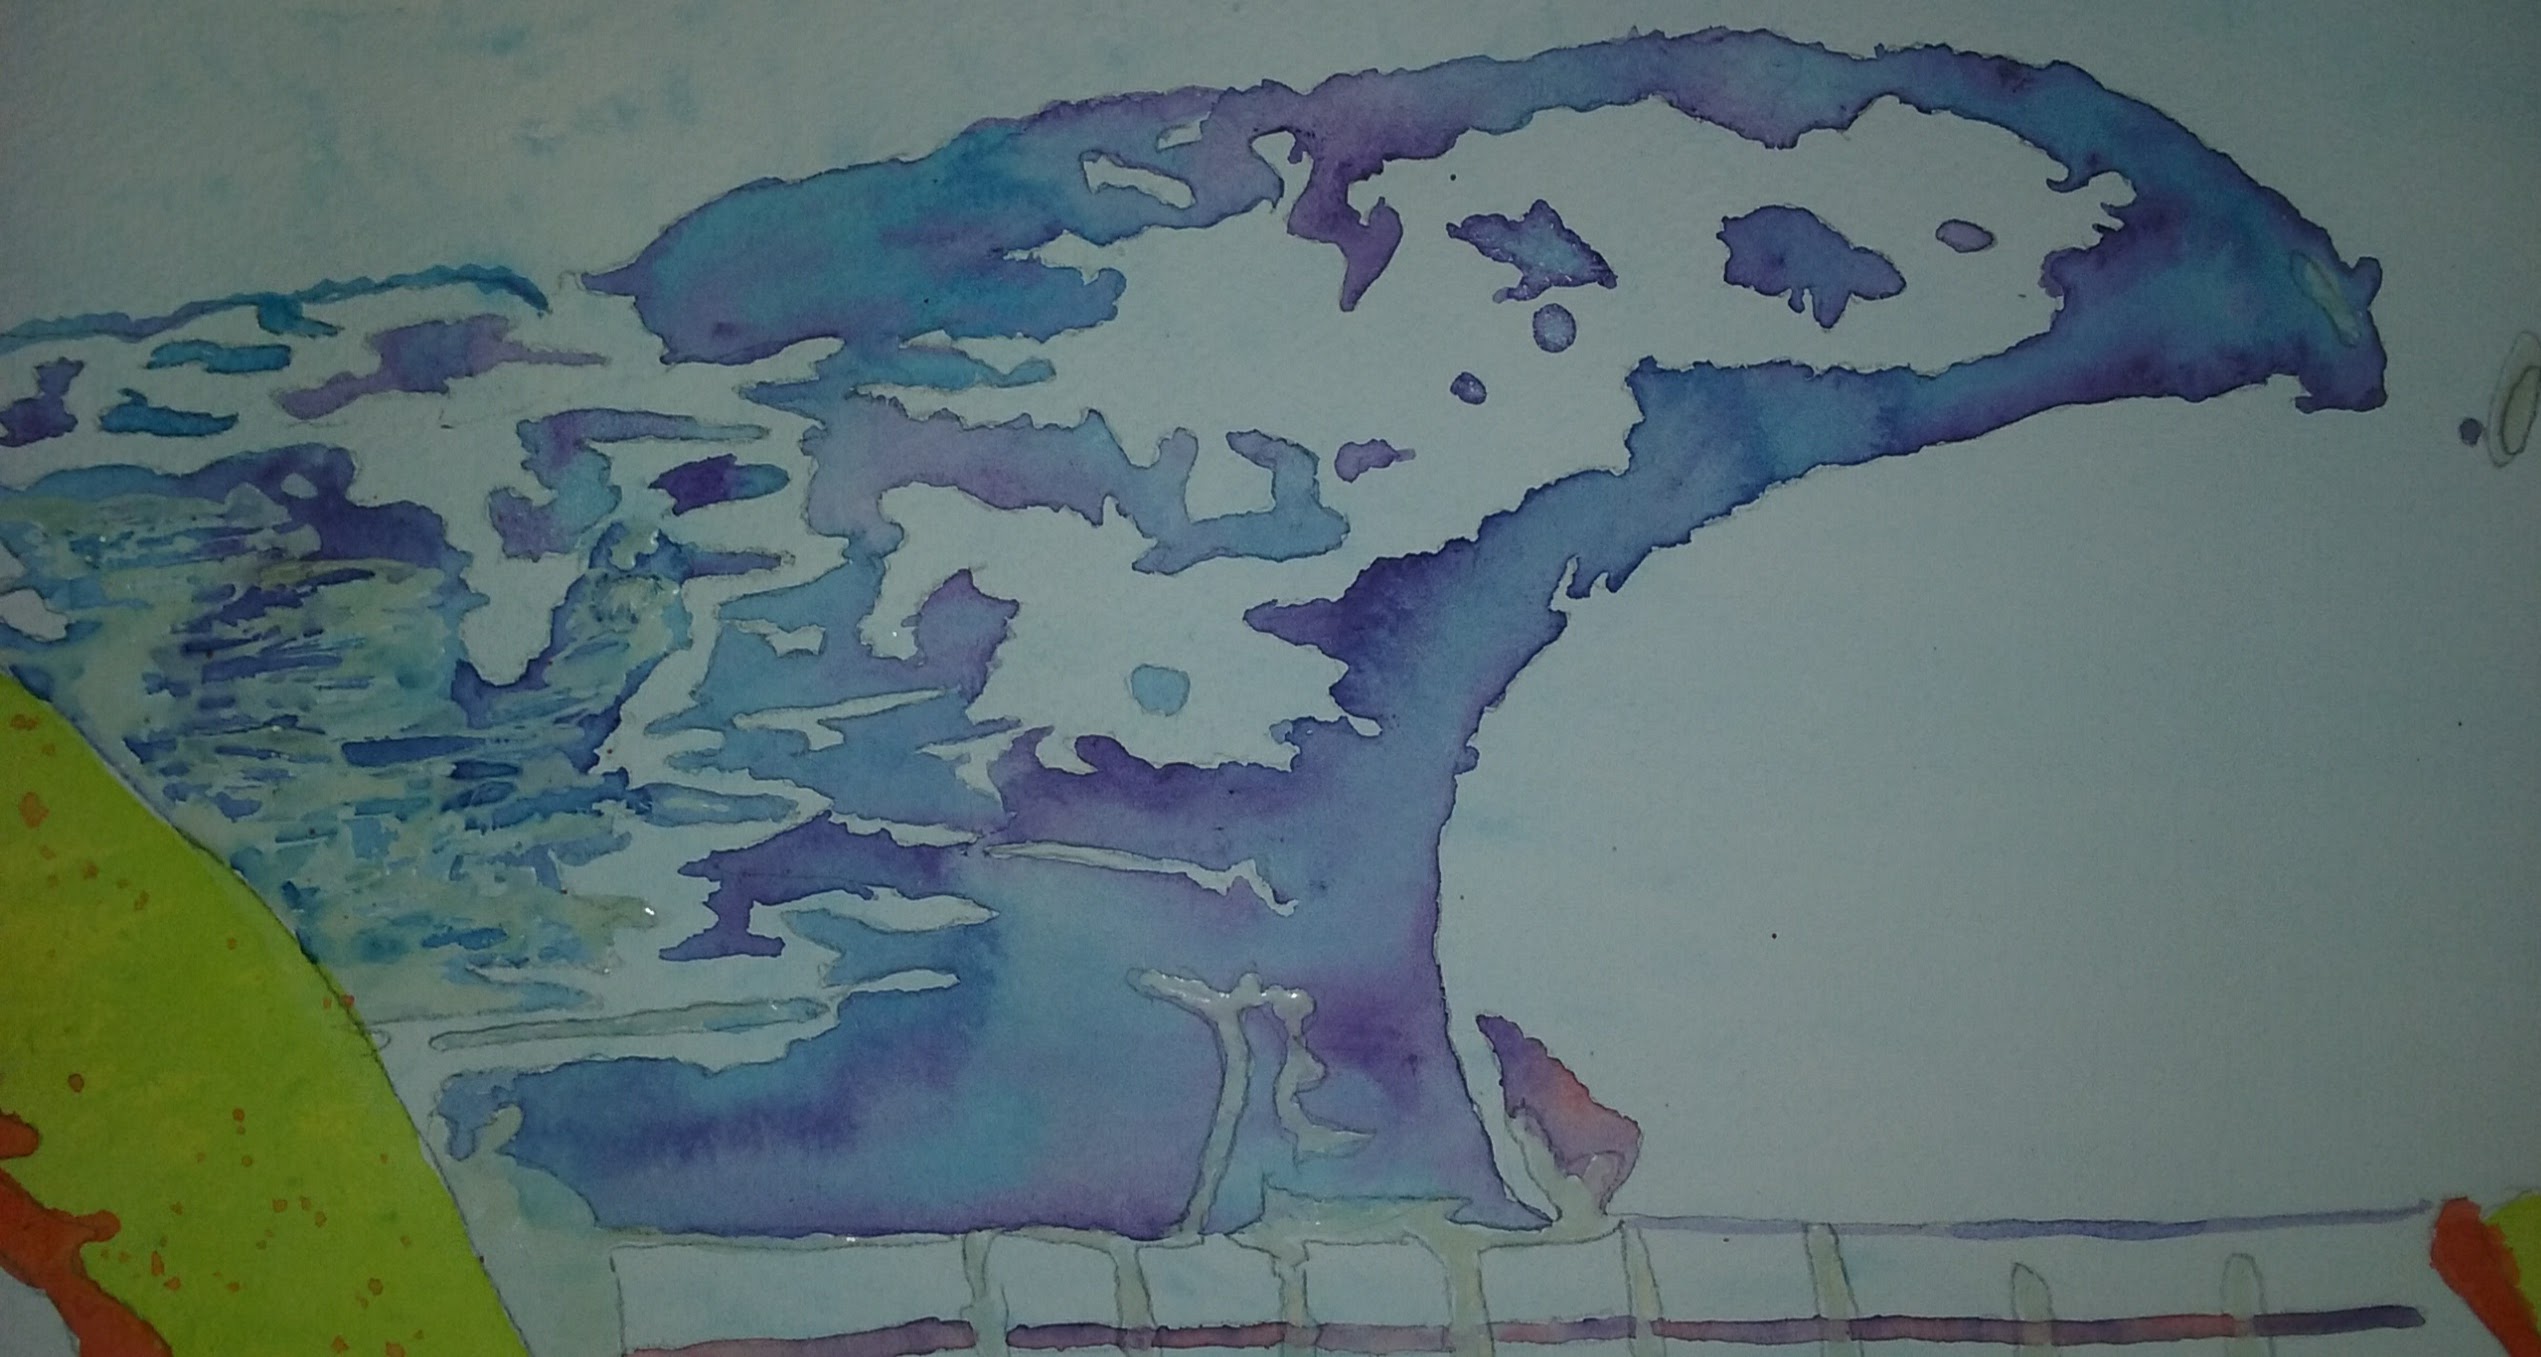
Finally the last wash can be applied. This process is hard to explain. It involves saturated paper, lots of paint (Windsor blue and green, in this case), and Stevie Ray’s music blaring in my headphones, late at night. I like to think it’s terribly artistic and romantic. If anyone actually saw it, I am sure they would think I just look silly. Oh well. I still like the end result.
As the paint starts to dry and the paper finds an almost magical state between wet and dry. This is where the pant blends, but doesn’t run. This is the stage where I add darker tones to better define the shape of the guitar body.
The last paint to go on the paper are spatters of bright yellow and orange.
After the paint dried, I removed the masking to see just how close I was to being finished. This step went smoothly, with no tears or mishaps. The wax paper was not compromised at all.
Some small areas need to be addressed after the masking is removed.
A close inspection reveals a few areas that need further attention. There are a few regions of painted masking fluid that didn’t cover as well as expected. A few transitions that seem a little abrupt. These will be corrected and softened with a little clean water and a soft brush.
This is the finished product. Not too bad! If you are interested in purchasing a print of this painting, click here.
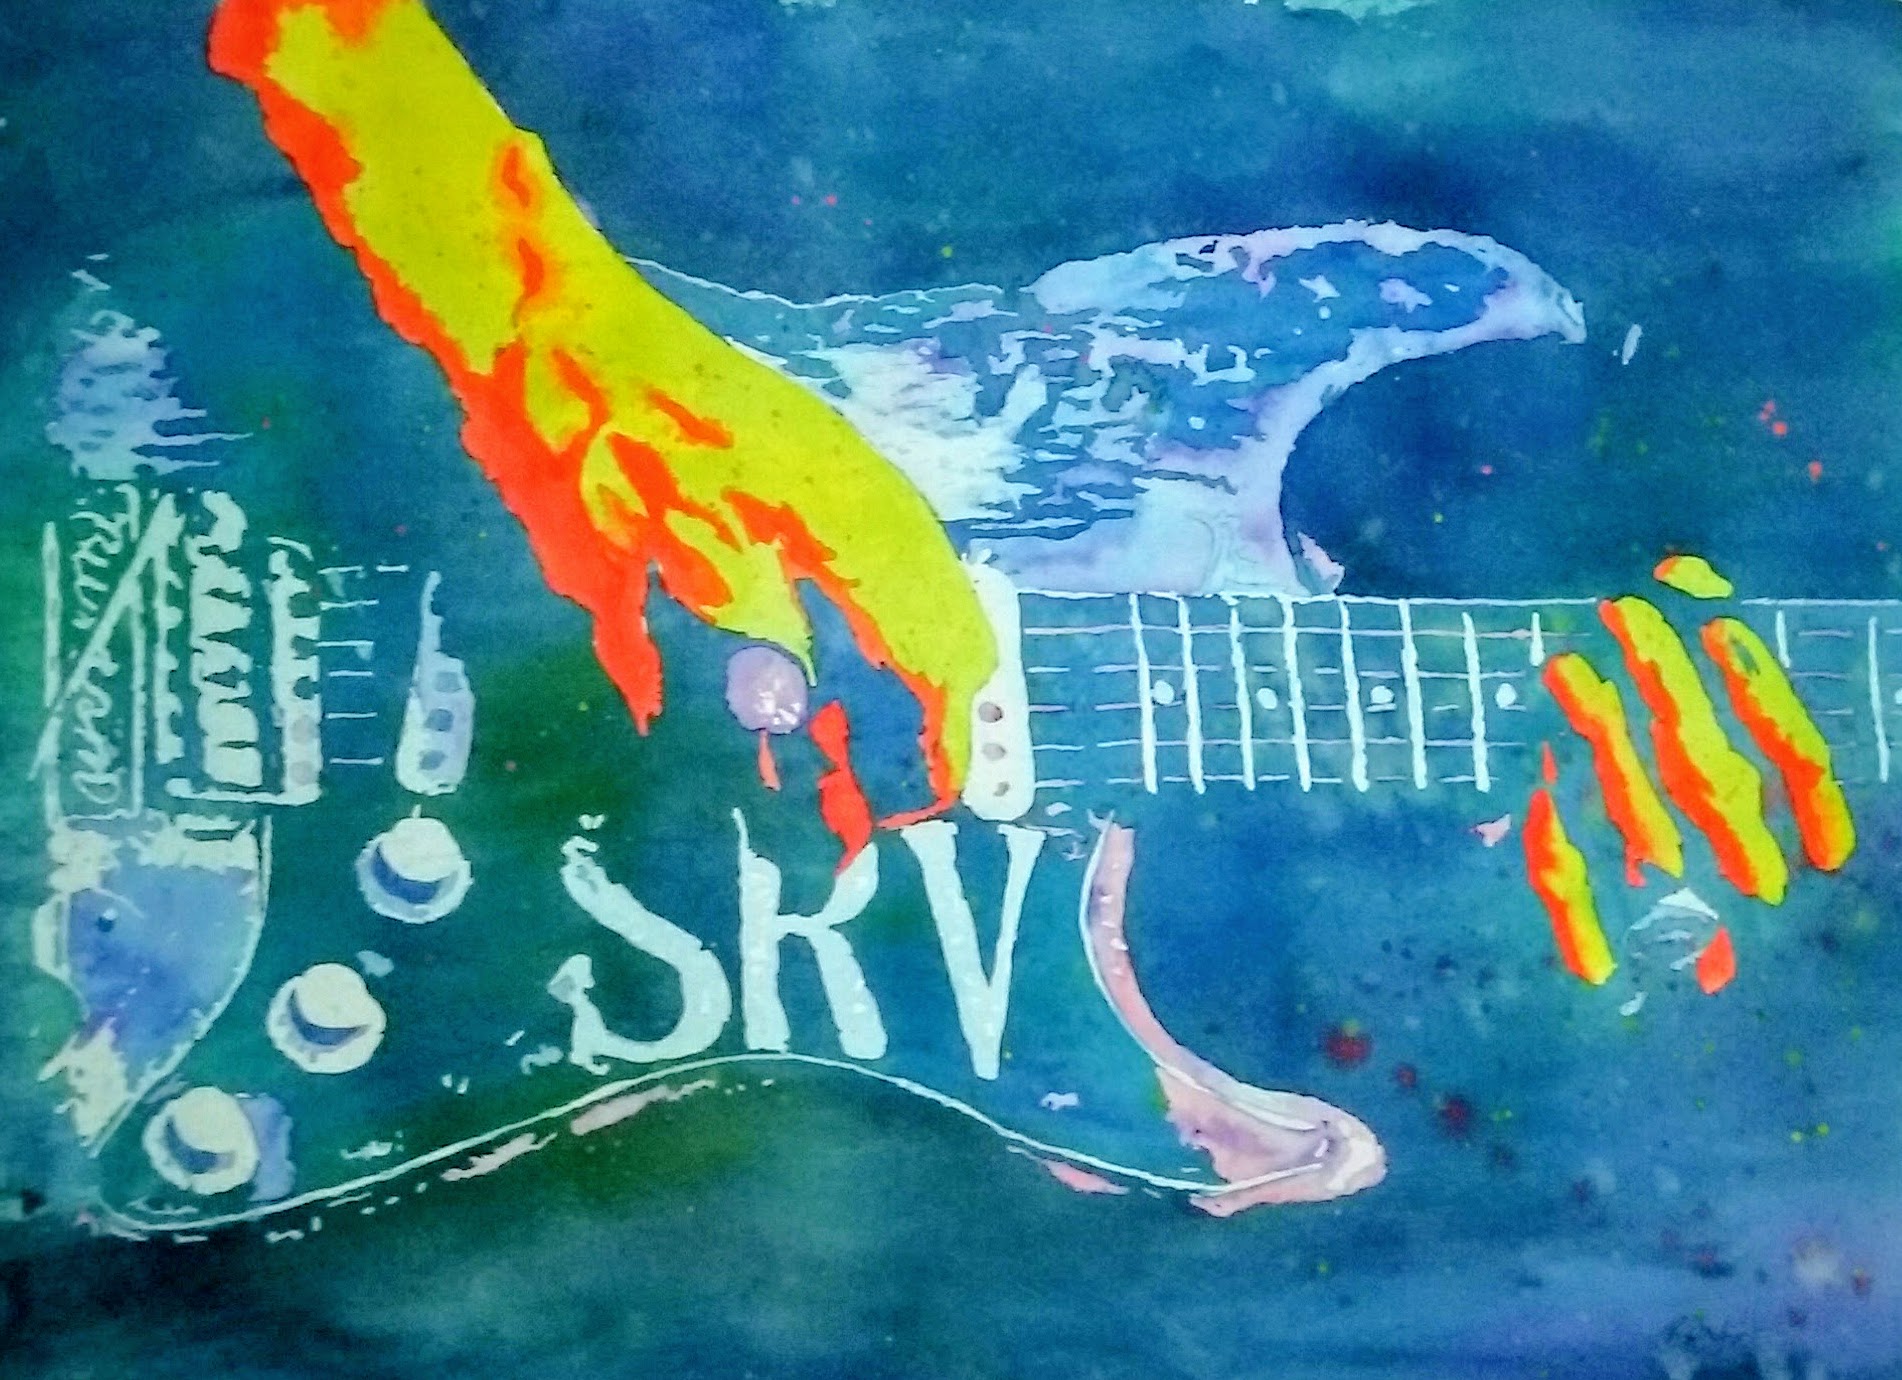
Stevie Ray Vaughan watercolor
Recent Comments